
91. A Concise Guide to Jupyter Notebook#
91.1. Introduction#
Jupyter Notebook is a web application that can run Python code and is currently the mainstream tool for machine learning practice. This experiment will introduce the basic operations of the Jupyter Notebook environment.
91.2. IPython#
If you are familiar with Python, you should have heard of IPython, which is a Python-based interactive interpreter. Compared with the native Python Shell, IPython provides more powerful editing and interactive functions.
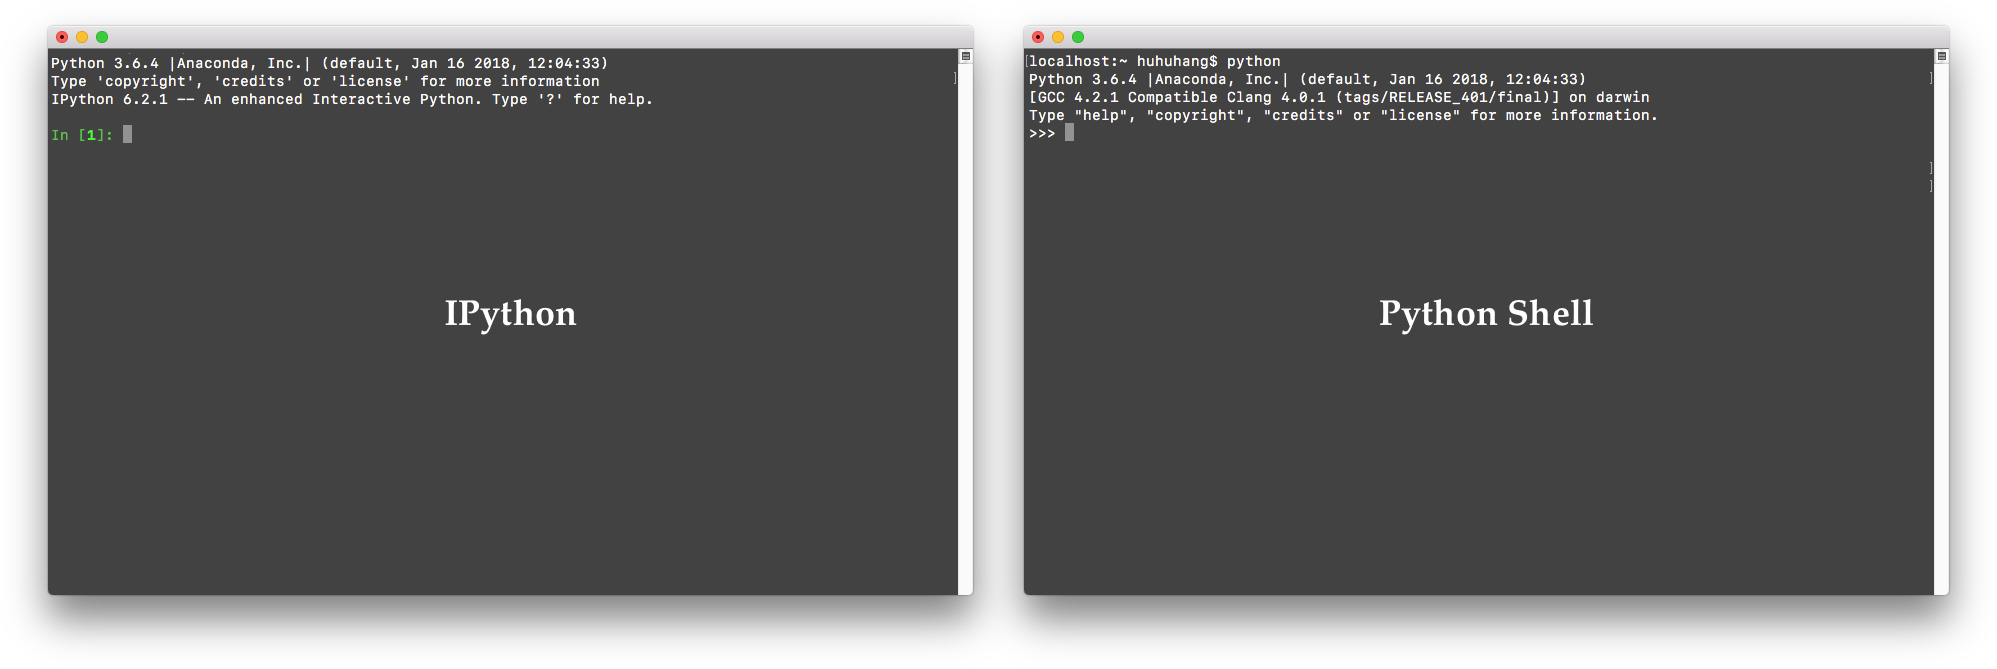
After IPython, IPython Notebook emerged. It fully inherits the interactive features of IPython and runs in a web form. The emergence of IPython Notebook has made the process of data analysis and machine learning efficient.
91.3. Jupyter Notebook#
Subsequently, sponsored by internet giants such as Google and Microsoft, IPython Notebook evolved into a more mature and complete open-source project and was renamed Jupyter Notebook. I believe some of you are not unfamiliar with this name and the following interface.
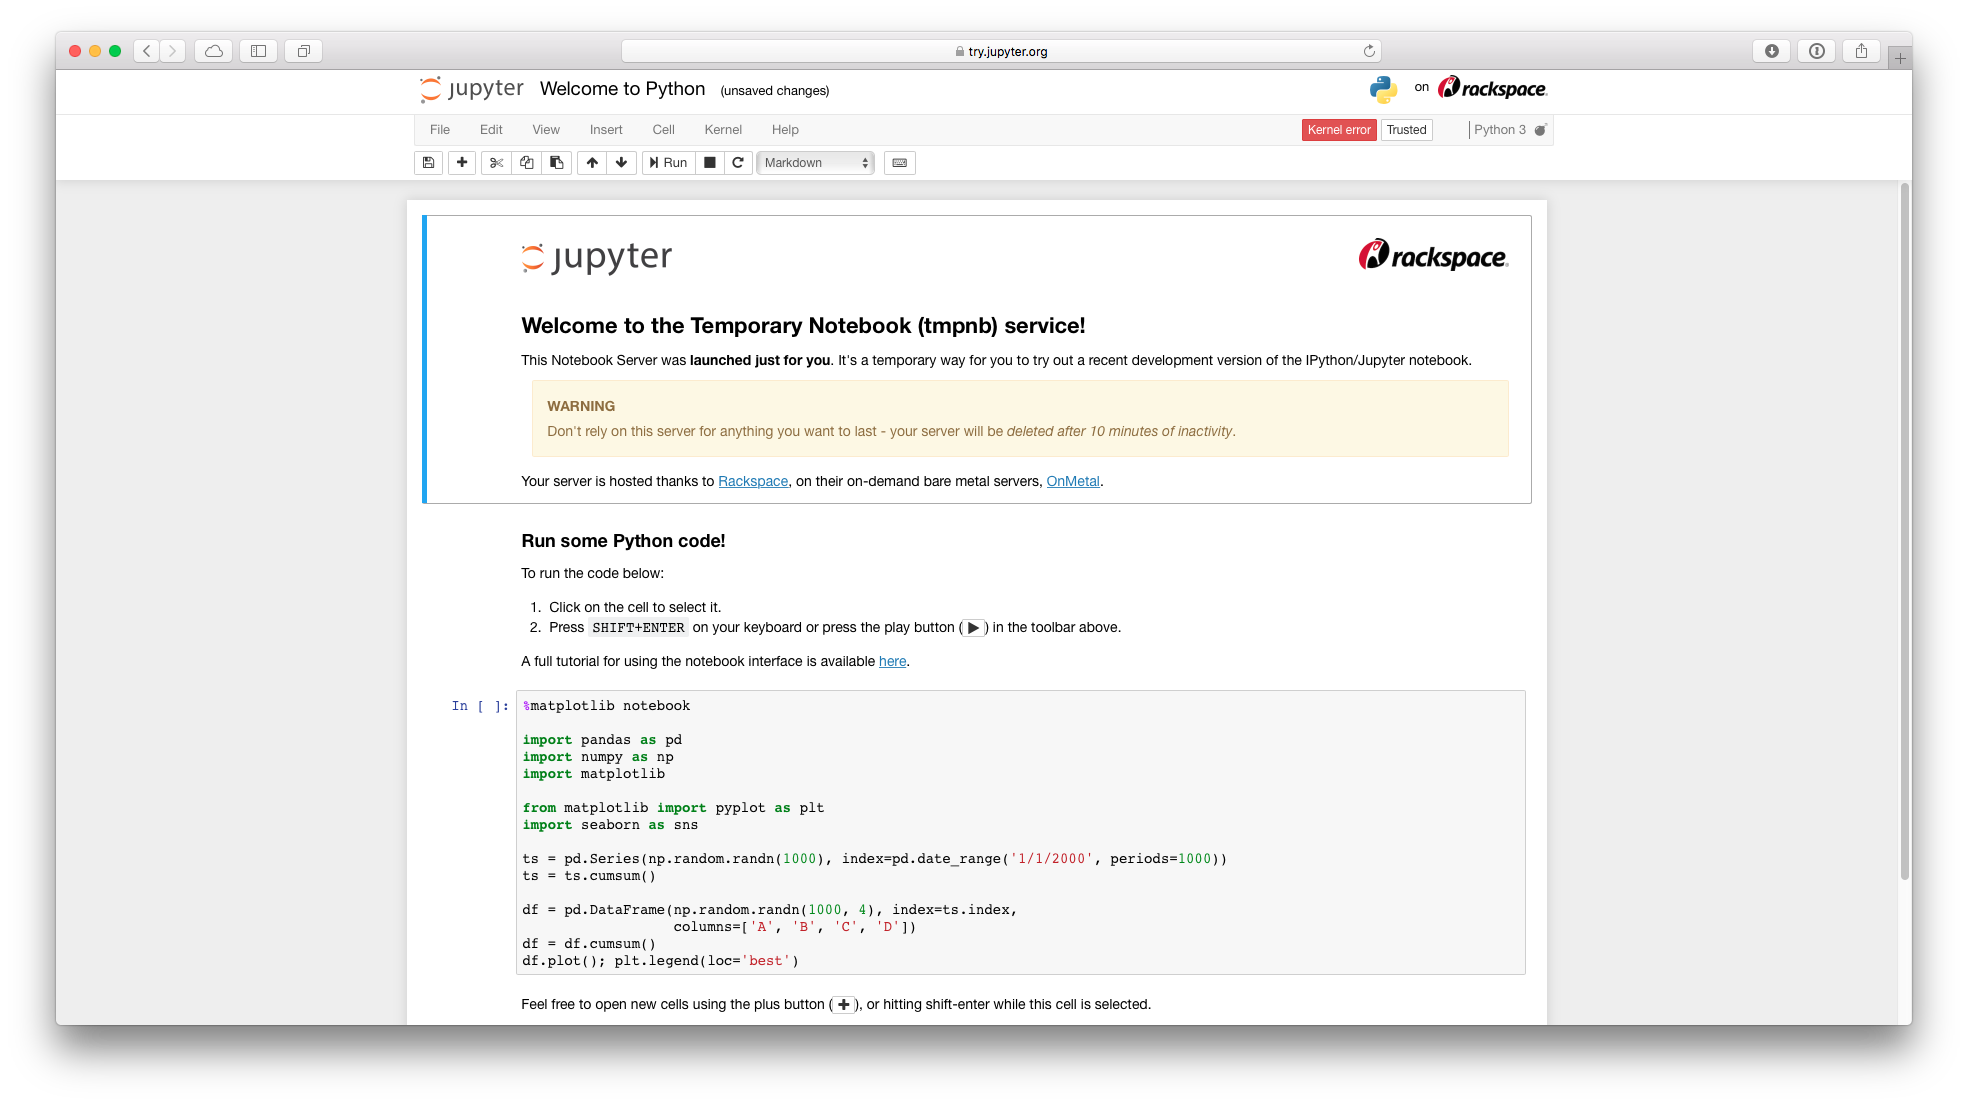
Jupyter Notebook has become an essential tool for modern data processing. From data cleaning, data visualization, data analysis to building machine learning or deep learning models later, all can be completed in Jupyter Notebook. At the same time, Jupyter Notebook can retain the results after code execution, facilitating the dissemination of content and the review of past work.
{note}
You can install Jupyter Notebook locally using `pip install notebook`, but I highly recommend directly using the online Jupyter Notebook environment provided by [GetVM](https://getvm.io/zh/templates/jupyter) in your browser.
91.4. Cells#
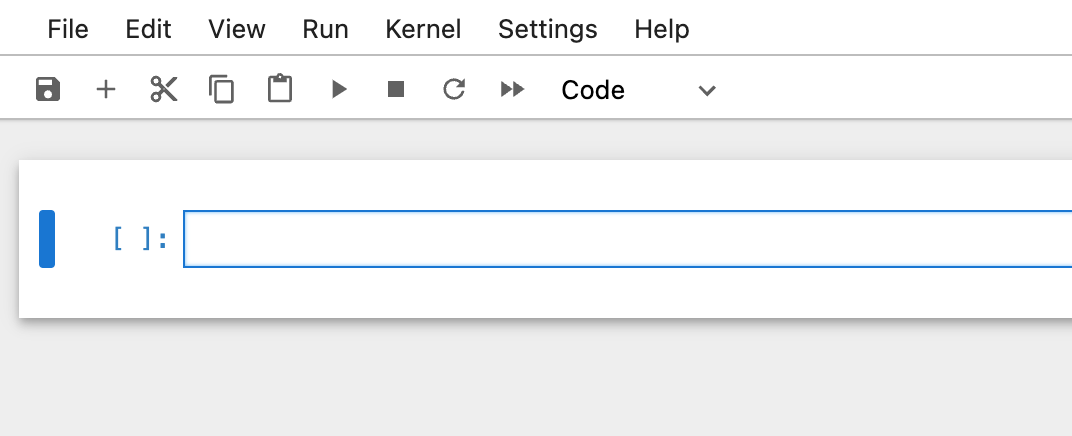
The most basic component unit in the content structure is called a cell, and a complete experiment consists of several cells in sequence. As shown in the figure below, when you click with the mouse on the course interface, the corresponding cell will be selected, and a blue vertical line will appear on the left side of the selected cell.
91.5. Two Modes of Cells#
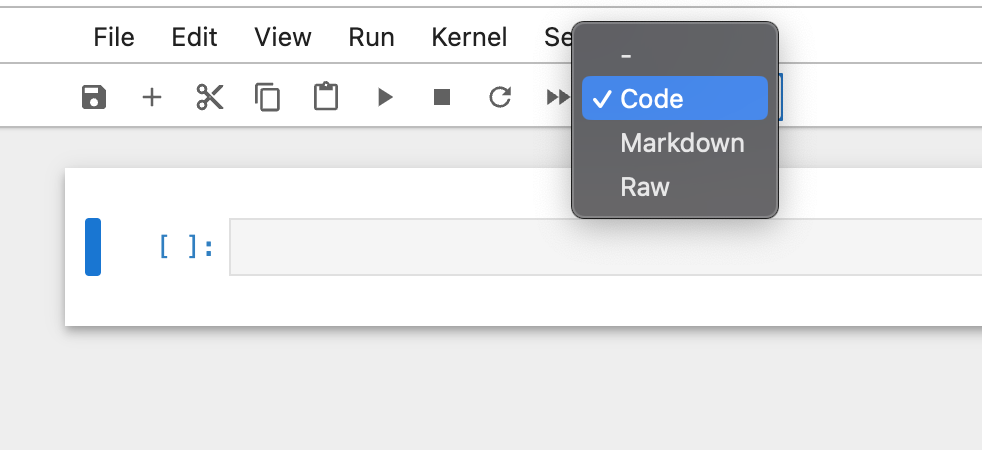
Each cell has two modes, namely Markdown (text) and Code. In
the course, teaching content is generally presented in
Markdown cells, while the code you need to practice will be
executed in Code cells. You can switch the cell mode through
the options at the top, or use the shortcut key
M
to switch to Markdown mode and the shortcut key
Y
to switch to Code mode.
91.6. Cell Menu Bar#
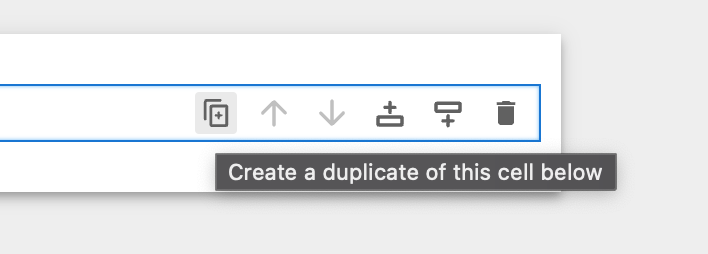
A menu bar is provided at the back of each cell in Jupyter Notebook, allowing you to operate on the cells. As shown in the following figure, these menu bars include operations such as copying, moving up, moving down, and deleting cells.
91.7. Run Code#
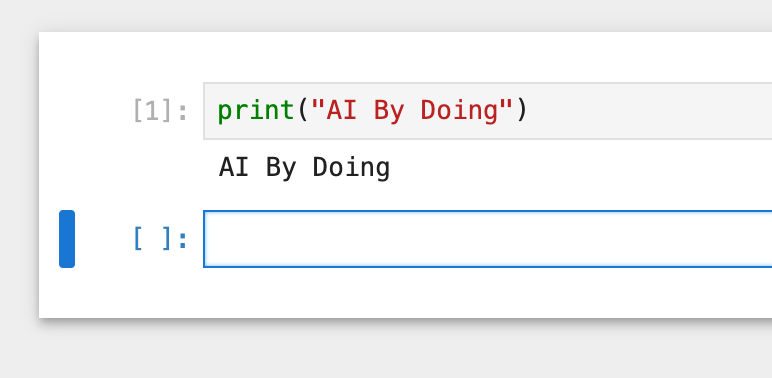
You may have a question about where to write and execute the
practice code. Currently, all of this is done in the Code
cell. As shown in the following figure, when you write
print('hello,
                      world!')
in the Code cell and click the run button
▶ in the top menu bar, the
corresponding code will be executed immediately, and the
output will be displayed below the cell.
Generally, we prefer to use the shortcuts in Jupyter
Notebook. When you need to execute a cell, you can run it
using the shortcut
Shift
                      +
                      Enter
. The advantage of using shortcuts is that you don’t need
to take your hands off the keyboard.
# 选中单元格,并按 Shift + Enter
print('hello world!')
The document content is written in Markdown cells. If you
accidentally double-click on a corresponding cell and enter
the editing state, don’t worry. Select the corresponding
cell and execute it using the same shortcut
Shift
                      +
                      Enter
, and it will return to the previous state.
91.8. Cell Execution Order#
Whether it is a Markdown cell or a Code cell, they are
executed in sequence from top to bottom in the course. The
subsequent cells need to wait for the previous cells to
finish executing before they can continue. A marker of
In
                      [serial
                      number]
will appear on the left side of the executed cell. For
example:
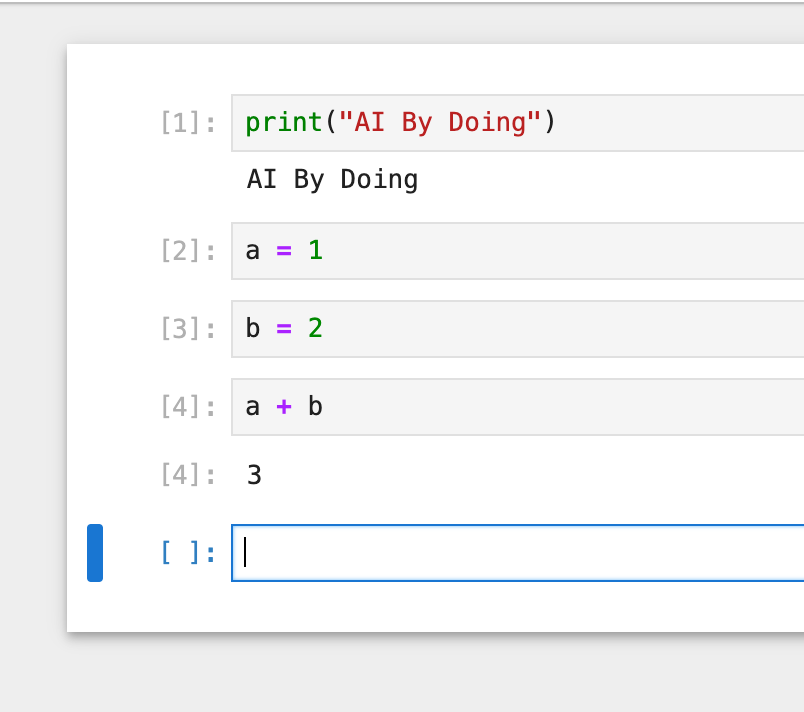
a = 1
b = 2
# 需要先执行上方单元格给 a,b 变量赋值才能执行我呢~
a + b
For convenience, the `print()` operation in Jupyter Notebook is not necessary. For example, in the cell above, the result can be output by `a + b`.
91.9. Code Completion#
When we are writing code, code autocompletion can greatly save time. In Jupyter Notebook, the code autocompletion function can be activated by pressing the `Tab` key.
# 当我们在使用 import 导入模块时,只需输入 im ,然后按 Tab 键
im
It is worth noting that the autocompletion of functions under a certain module will only take effect after the module is imported. For example, only after you run `import numpy as np` can you use the Tab key to autocomplete the classes and related functions under `np.`.
91.10. Function Usage Suggestions#
If you don't know enough about an unfamiliar function, you can view usage suggestions by using the shortcut key `shift + tab`.
# 运行导入 random 模块
import random
# 鼠标点击至 random.randint 并按 shift + tab 查看使用建议
random.randint
You should be able to see the following function introduction bubble content:
<pre style="font-size:14px; line-height:17px;" class="hljs">
Signature: random.randint(a, b)
Docstring:
Return random integer in range [a, b], including both end points.
</pre>
## Execution Status of Cells
For code with high complexity, it often means a longer execution waiting time. In Jupyter Notebook, when a cell is in the execution state, the `In [*]` symbol will appear in front of the cell. Only for cells that have completed execution will the `*` in the `[]` be changed to the corresponding `sequence number`.
In addition, you can judge the kernel occupancy through the Kernel status indicator in the upper right corner of the page. If a solid circle ◉ appears to the right of the Python character, it means the kernel is in an occupied state. While a hollow circle ◯ represents that the kernel is in an idle state. Of course, there may also be a symbol indicating a broken link, which means the kernel has been disconnected. You may need to refresh the page or restart the experimental environment. Of course, Labby will try its best to prevent you from encountering the state of kernel disconnection.
## Restart the Kernel
Sometimes, when you are running complex code, it may cause a large consumption of experimental environment resources and the Notebook may become "unresponsive". In such a situation, if you don't want to close and reopen the experiment, you can perform the operation of "restarting the Notebook kernel".
The button to restart the kernel is at the top of the environment. After clicking the button with the style of <button><i class="fa-repeat fa"></i></button>, a confirmation dialog box will pop up. Click Restart to proceed.
<img width='500px' src="https://cdn.aibydoing.com/images/2024/06/uid214893-20190813-1565661913124-1718756867.png">
Now try performing the operation of restarting the kernel and then run the cell below.
a
If you execute the cell above after restarting the kernel, it will report a `NameError`. The reason is that after restarting the kernel, the running status of all previous cells will be reset. That is, the variable `a` that we assigned a value to in the previous text will return to the unassigned state. Now you should understand the function and impact of restarting the kernel.
## Forced Termination
Sometimes, if the code takes too long to run or gets stuck in an infinite loop, we may want to forcibly terminate the running state of the cell. At this time, the <button><i class="fa-stop fa"></i></button> button at the top comes in handy.
Run the following infinite loop code and perform the forced termination operation.
import time

while True:
    print("hello, shiyanlou.")
    time.sleep(1)
## Shortcuts
To improve the efficiency of using Jupyter Notebook, it provides a series of shortcuts. We have selected several commonly used ones and summarized them as follows:
- `H`: View all shortcuts.
- `S`: Save the content of the current Notebook.
- `P`: Bring up the Notebook command bar.
- `B`: Create a new blank cell below the current cell.
- `M`: Convert the cell format to Markdown.
- `Y`: Convert the cell format to Code.
- Press `D`+`D` continuously: Delete the current cell. (Use with caution. It is recommended to use X to cut the cell instead, because it can achieve the deletion effect and can be pasted back if deleted by mistake.)
- Press `I`+`I`+`I` continuously: Forcefully terminate the kernel (when a cell takes a long time to execute or gets stuck, it can be forcibly terminated. After termination, the status of the previous cells remains unchanged, which is very useful.)
- `Shift + Enter`: Run the content of the current cell. (When a Markdown cell is in the editing state, running it will restore it.)
Please note that for all shortcut key triggers, the cell must be in the selected state, not the editing state.
For more tips on using Jupyter Notebook, you can also read: [Notebook Tips, Tricks, and Shortcuts](https://www.dataquest.io/blog/jupyter-notebook-tips-tricks-shortcuts/)
## Summary
In this experiment, we learned the basic usage skills of Jupyter Notebook, which are very important for subsequent learning. As mentioned before, Jupyter Notebook is very popular in the fields of data science, machine learning, and deep learning. Mastering the use of Jupyter Notebook will provide great convenience for future learning and work.